Image Map
Showing posts with label Tips and Techniques. Show all posts

October 24, 2019

Types of Stars-What You Just Might be Missing!

Types of stars is an interesting concept to teach.  While we think students understand the properties of stars, we can quickly build an understanding that each type of star brings a basic struggle for students to understand.  There are a number of reasons why!  Let's take a look at common misconceptions students have!


Color of Stars

The color of stars can confuse students. Think about our own perception of fire.   Fire glows red/orange and is hot, right!  We want to place a label on that-red/orange fire is hot.  Red/orange means hot in all aspects of our life-a stove is red/orange!  HOT-don't touch!  But, in reality, red/orange is cool in the range of heat output.  We just have this preconceived notion that RED means HOT! Stars that are red/orange are the coolest stars.  Blue and white stars are the hottest stars.  Kids are like us.  They want to apply red/orange stars as HOT, but they aren't.  This is a misconception that needs to be addressed when studying stars.  

Size of Stars

Bigger is better, right!  When it comes to types of stars-NOT TRUE!  Big stars a dying stars.  They have burned through their fuel and are heading toward death.  Small stars are fully fueled and are just beginning their lives.  This misconception needs to be addressed when studying stars!  

Distance of Stars

Stars appear on a plain - a flat "surface" to us.  Stars are really at a wide variety of distances from Earth, creating this misconception of a flat, one dimensional surface when we look at them.  And, after all, they are all the same size on that plane, right!  

See the problem of misconceptions building up!  These are REAL problems when teaching types of stars!!!  So, how do we address these misconceptions?   How about a STEM activity!  

Types of Stars STEM project

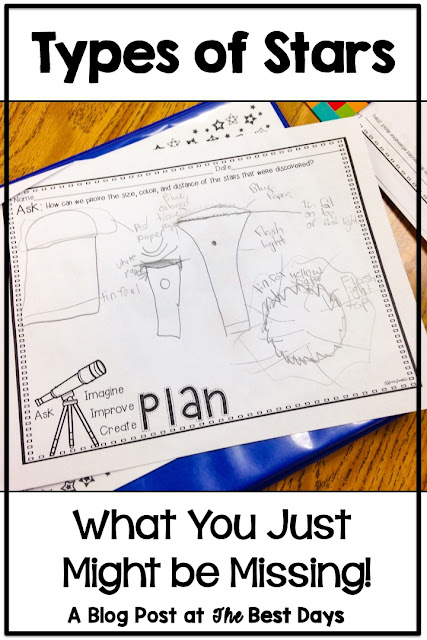
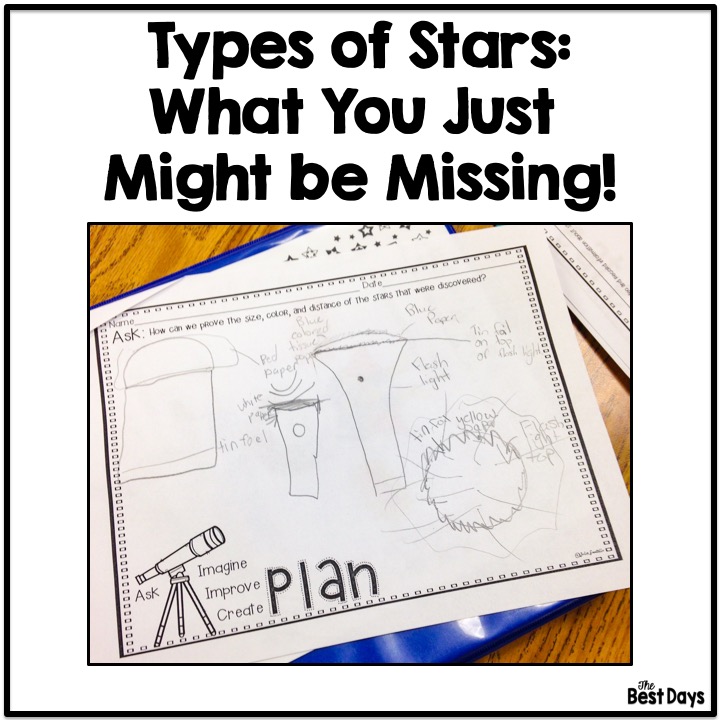
I developed this STEM to try and undo the misconceptions that I saw my students struggling with-the very ones I just shared with you!  I could not find a way to communicate the properties that we were discussing in a way that students grasped them at a deeper level.  There had to be some kind of hands-on activity out there!  But, there wasn't!  This Star STEM was birthed out of the very cosmos!  It had to make things easier - or so I thought!  

Starting Off Strong


Star STEM planning page


Students were super excited to start this STEM!  They brought a variety of flashlights from home and I purchased some different sized flashlights for cheap at The Dollar Tree and other stores!  You will need flashlights from very small to very large to represent each type!  I also bought tissue paper and some other "star" making materials.  You will need packing tape-a lot of it-too!  Makes sense, right!  

WRONG!  Students jumped on the color first! They where using things like their red pencil boxes with the light shinning through it!  I would say ROUND and it was like I was speaking a different language-because color was key to them!  In fact, one team began creating this blue monster!  I couldn't figure out what in the world they were doing!  They not only missed ROUND, they missed a star is in space!  They were creating EARTH!  So, be sure they truly understand the properties involved.  Even though this was clearly discussed, and redirected to teams, it did not become the focus of what they were doing!  


Students were building the wrong type of star in this STEM picture.
Misconceptions can lead students away from the goal of learning when the 
concept is higher than we realize!


Finishing STRONG!  

We did get every team focused on the correct properties.  We did get every team creating one type of star that represented the size and color that they needed.  It was well worth the effort!  Because, next came testing!  And testing these was where it is AT!  Suddenly, they could SEE what happens in the night sky with distances!  We tested a number of combos of stars and locations in the room.  I had assigned "distances" in the classroom and set up Polaris as the closest star (my design was used for Polaris) on a chair in the front of the room.  As we changed out stars and students in "space" we were amazed to see how star sizes appeared the same and how color didn't matter to differentiate a size.  They blurred into one sky, even within the classroom!  I also used an iPad to take pictures so that we could flip the lights on and examine the evidence in picture form!  


In the end, we did finish strong with our study of types of stars!  We did internalize the idea that viewing them from Earth does not mean that they are all the same distance or the same size!  We did internalize that space has greater distances that can make the size of a star appear smaller than those closer to us! And that is what made this STEM so awesome!  It was the very objective that this lesson was supposed to show-because that one is the most complex of all the objectives in teaching types of stars!  


STAR STEM results
These stars are on a plane.  You can see that their size and color are shown.  These are Red Giants and Orange Stars.  

Star STEM testing by students.
Create Polaris to judge brightness and distance, just like real astronomers do!  


As always, let me know what you think!  I'd love to hear what you have done in your classroom with types of stars!  You can add a comment here or join me over at Facebook and Instagram to share your thoughts! I'd love for you to join me there!

(Find out how I hacked this rubric for my teacher observation here!)


Pin for Later


Types of Stars STEM


June 27, 2019

Multiplication Mall to Prove Multiplication Strategies Success!

It wasn't too long ago that multiplication was a rote memory skill-one that simply included memorizing to "know" your multiplication skills.  Now, multiplication is about understanding-and that is a huge improvement upon just knowing the facts by heart!  So, what would make it even better?  How about a project that includes proving multiplication strategies success!  That's what Multiplication Mall does!  


The purpose of Multiplication Mall is to prove multiplication strategies through designing a "store" in the mall.  Each part of the "store" provides evidence that a student understands a particular skill in multiplication.  Let's break this down!  

Starting the Project

Students need some foundation with the basic of this multiplication project. This is where brainstorming comes into play.  Work as a class to brainstorm the type of stores that are found in a mall to get their creative juices going.  You will also need to work on learning about alliterations.  Luckily, there are posters within this product to guide your students with alliterations!  


Multiplication Mall posters

Assigning the Project Steps

Next, students will dive into the project itself.  Provide the rubric to students along with the Planning Page.  This is where students will make critical decisions about what their store will "sell".  A rough draft like this allows students to make mistakes BEFORE they get to their final design.  It is critical to allow this because it builds in success in the final product!  

Students will also work on the posters that hang outside of their store.  Both the windows and the posters are designed to prove multiplication strategies that students know.  To help guide their choices, there are also posters representing each multiplication strategy that students can choose from.  Once all of this is designed, students will then get the teacher's approval to move forward into the final design stage! 

Completing the Project

Students will need bulletin board paper and construction paper to complete this project.  You will need to cut the bulletin board paper, also known as butcher paper, to the size that students need.  This needs to be large enough to fit the piece of construction paper that will house the windows on.  You will also want to have white paper cut to design the posters also.  Once this is done, allow students the chance to create!  Step back and watch what they will do, you will be amazed!  


Sample Multiplication Mall Project


Final Thoughts

Projects are about proving what students know.  Allow students to self grade their projects will give you insights beyond what you can learn by grading them yourself.  It is a relatively easy process.  Give students a yellow highlighter.  Let them work through the rubric, examining their work to best judge themselves.  Then, once they turn it in, grade the project with a blue highlighter!  Anywhere the teacher and student agree, it will turn GREEN!  How cool is 
that!  


Allowing students to prove multiplication strategies for success is an easy way for you to show that students have mastered the standards of multiplication.  But, it is more than that!  It is a way to provide a creative, fun way for students to show what they know!  Grab it in my TpT store!  And, let me know what your ideas are about proving multiplication strategies in the comments!  I'd love to hear!  
Multiplication Mall project


Pin for Later! 


Multiplication Mall Pin


January 22, 2019

Book Clubs for Kids: Why Student Choice is NOT that Hard to Do!

Book Clubs for kids, also known as Literature Circles, have been around for a very long time.  However,  Book Clubs for kids is one of the most underutilized tools in the teacher's tool chest of skills.  When you look at Balanced Reading's fundamental truths, it screams Book Clubs for kids, especially for older elementary students.  Yet, we continue to follow the guidelines of Big Business in our classrooms and go with the readers provided by these book companies than to provide real literature with a purpose.  Book Clubs for kids do just that!  So, how do we pick books and how do we allow students a choice in book picks without them being unrealistic their reading levels.  Here's how!  


This girl is happy because she is getting to pick the Book Club books!  Her choice!


First of all, it is key to understand that student accountability and responsibility is the fundamental element of Book Clubs for kids!  Without it, you will be chasing students down and all around your classroom trying to get them to complete this work.  Starting with the basics of how to do Book Clubs for kids must come from you, but the rest is based on their ability to be a member of a group that is counting on them.  This is why Book Club book choice is so key to the success of the Clubs themselves.  I will state, for the record, that I DO CHOOSE THE BOOKS IN THE END for each student-just in case you want to give up because this seems too far fetched for you!  It's all in how you manipulate the choice that gets the group to be cohesive and complete!  Let's take a look!  

Purpose

First, target your groups needs.  This can be as simple as reading level to as complex as character development through deep analysis.  You must decide what the purpose of the group is.  You will also be looking at what children you want to put in this group!  Have a flexible list, because this is where the fine manipulation comes into play-having that general list.  Here's an example of where I am going with my class:

  • Advance Reading Level and Comprehension - 2 groups
  • Character Development - 2 groups
  • Continue Basic Comprehension and Growth - 1 group

Book Selection

Next, I select the books I want to use.  This step, at times, can come first.  I usually work together within these steps, as I know what books I have sets of.  I target the books and what kids I want to have in each groups.  Again, I keep a flexible list, because I know I can change groups around based on their interest too!  This year I'm in Second Grade, so here's what I'm looking at for book choice next:
  • Tornado by Betsy Byard - 2 groups
  • Frog and Toad - 2 groups for Character Development
  • Henry and Mudge - 1 group, Basic Comprehension 

Student Book Choice

Now comes the next step, student choice.  Label the books you are planning to use.  I put post-its on the books numbered 1-4.  I allow students to examine the books, including reading the back, looking inside,  and checking out anything else they may want to do.  I do this in smaller groups, over the course of one or two days.  Students want to see and examine the books to make good choices.  This should become an important step to the selection process.  Plus, it gives you time to prep folders and papers as they are doing this.  


Next, I print out post-its for book selection.  Each student gets a book selection post-it.  They write their name and their book choices-1st, 2nd, and 3rd-on the post-it.  They turn it into me so that I have their choices.  It's as easy as this!  Again, it's a fine game of manipulation after this, but you have done one of the most important steps to student buy-in!  

Assigning Books

It is time for the grand manipulation.  Here's how this goes down!  First, sort all the groups by who picked what for their first choices.  You can then pull those kids that you have picked earlier for those books.  This one is easy.  Next, examine where your second book picks fall.  Usually, I can place all of my kids by the first or second choice.  They really do pick the right books.  When I get a student who has not picked the book I need for them to be in, I look at the following:
  1. Is there room in the Book Club they want this time!  If it isn't too far of a stretch, I will usually look at this as a choice.  
  2. Did the child at least pick their "book" as third choice.  
  3. If the child did not pick their "book", I pull them and I conference with them.  I explain that their book choice was filled and that ________ is the only spot I have.  (The next part is KEY!!!)  Then I promise them FIRST CHOICE next time-and I make sure I write it down and STICK TO IT! 
They are usually thrilled with this idea, because they know their valued in the process.  All the while, you are winning at getting them in their proper Book Club books!  

I do believe that this is all a very gentle balance.  It is always key to remember that student choice is one of the key components in Book Clubs with kids!  If you over use play this balance, they get onto your game and you will have some difficulty completing that fine art of manipulation.  Value their choices and balance it with your needs-it works every time!  Any other tricks and idea, drop me a comment!  

Differentiated Book Clubs:  These products contain all you need to accomplish amazing Book Club moments in your classroom!  


Advanced level of book clubs are for 3rd, 4th, and 5th grade students.


Pin for Later!  

This child is picking a book for Book Clubs for Kids!  Students choice is key


Read more about Book Clubs for Kids here too!  


June 6, 2017

Change Your Homework Collection FOREVER!


Yep, the more I look at this, the more that I know I have changed my collection of homework FOREVER!  Here's how!  

A few years ago, our district adopted Danielson as it's teacher observation tool.  We were NOT shown or inserviced on how dramatically different Danielson was from Marzano.  Marzano was very teacher friendly, a nice transition into a system that was designed to highlight teacher success in both traditional methods and more modern methods of learning.  Let's put it this way, this system was used for good, not evil!  Danielson on the other hand-pure EVIL!  Really, this system CAN and WILL be used to hurt teachers, depending on how your administration views the tool.  Well, needless to say, it was used as just that!  Instead of training and assisting teachers, this system was dropped into our laps and then administrators picked and chose who and how they would use this system of evil against-and I GOT IT!  Yep, I passed out post-its in the middle of a lesson-needs improvement!  That simple! The kids weren't doing the work, I was!  So, I set out to learn how to beat the system.  Not that I didn't want my students leading the classroom-I was known for how much differentiation I did with my students, the creativity I brought to lessons, project based learning, TECHNOLOGY! I mean, this was my thing-yet, BAM!  Needs improvement.  

So, I set out to change.

It started with being more organized in handling materials I use with the students and the creation of Table Leaders/Team Leaders in my classroom.  How this looked was simple.  On each desk I taped a pretty circle with a number in it-1 through 4.  The Team Leader was always person #1 at the table team.  They were "it" basically.  If there were any materials to gather and collect, it was their job to do so.  Everything I needed, they were my go-to students.  (I did still have a leader in class for leading the line, etc. I also still have classroom jobs!)  So, the next logical step was to use them to collect HOMEWORK-the job I literally hated the most in my classroom.  "Why not!" I thought!  This could be a totally great way for me to loose that job I hated!  I created a basic collection paper and it worked!  Then I started to think, "How can I get this to work on a long term paper to track it more easily for record keeping" and the Editable Student/Table Leader Checklist was born!  

This product is super easy to use.  You need to be sure you have the two fonts to view it in the best possible way-but, as you can see, my school computer doesn't have those fonts, so it can be used without them (just not as super cute!)  


Once the students bring me the clipboard, it just takes me moments to gather the work into the correct piles and check it in on the clipboard.  You can see my system has also developed some easy to use letters-M for missing and then smaller letters for the subject.  I also use AB for absent.  The greatest thing about this system is I keep these pages in my teacher binder  to go back to at report card time.  There are spaces for 4 students at each group and each day of the week.  The kids manage it all!  

One of the best things about this is that it also sets the students up for more responsibility and more ownership in the processes of the classroom.  The best thing for you is that it is FREE!  It is one of the easiest ways to set up Student Led Learning in your classroom! 

Over the next few months I will be talking more about how I am growing in the use of Student Led Learning and some of the Professional Development I am engaging myself in!  So, come back often and learn more about the Student Led Classroom!